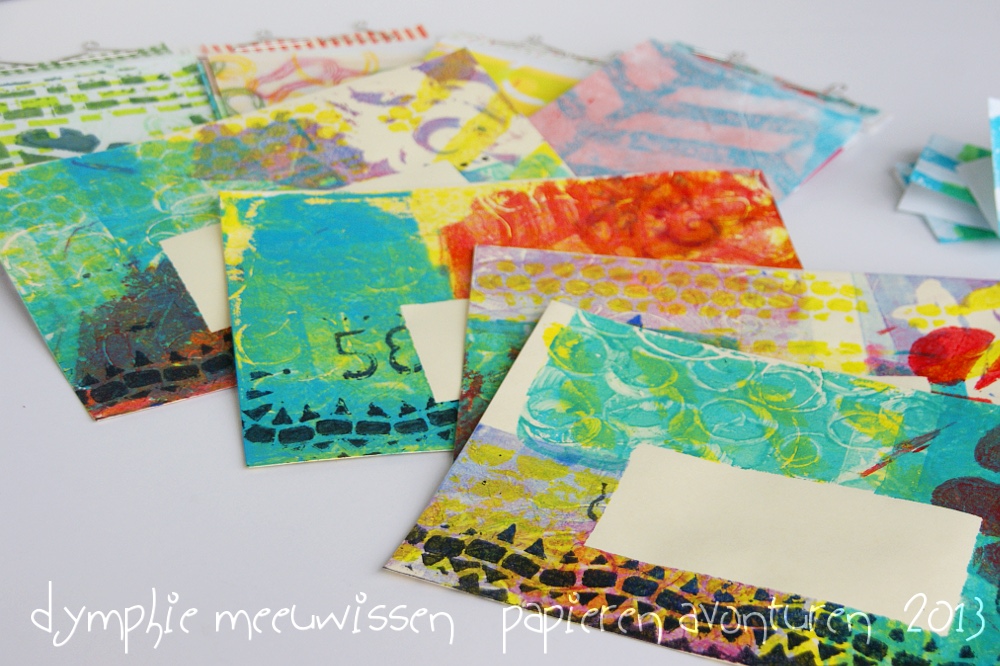
Dit weekend maakte ik wat kleine vierkante enveloppen met deze tutorial: klik. Vandaag heb ik een variatie gemaakt voor een standaard Europese maat kaart.
This weekend I made some small square envelopes using this tutorial: click. Today I made my own variation to obtain a standard European size envelope to use for card mailing.
Zo'n envelop maak je uit een vel papier van 19,5 x 19,5 cm. De enveloppen zijn dan ong. 11 x 15,5 cm.
Omslagen van tijdschriften zijn mooi stevig om te gebruiken en niet zo goed gelukte marmervellen zijn ook geschikt ;) Laat het recyclen maar beginnen!
Such an envelop is made from a sheet size 19,5 x 19,5 cm. The envelopes will be appr. 11 x 15,5 cm.
Covers from magazine have a nice weight to use and not so succeeded marbled papers are suitable too :) Let the recycling begin!
Markeer aan beide zijde van een hoek een punt op 8 cm, doe dit ook bij de hoek diagonaal ertegenover.
Mark a point at both sides of a corner at 8 cm, repeat at the corner diagonal of the first one.
Pons of knip rechte hoekjes uit de gemarkeerde punten
Punch or cut square corners at each marked point
Je vel ziet er dan zo uit, je kunt nu de vouwlijnen rillen (van geponst hoekje naar geponst hoekje):
Your piece looks like this now, score the four sides (from punched corner to punched corner):
Snij op 6 cm van de rillijn van een van de grote punten een hoek af voor de onderkant van de envelop.
Cut a corner from one of the large folds at 6 cm from the score line. This will make the 'bottom' (engl.?) of the envelope.
De overgebleven drie hoeken van de envelop heb ik met een hoekronder geponst. Als je papier uit een tijdschrift gebruikt is een voering erin wel mooi, ik maakte deze uit een taartpapier.
I've use a corner rounder to punch the remaining three corners from the envelope. When using paper from magazines I like to make a liner, this one is made from a cake liner.
Randjes dichtplakken met dubbelzijdig tape en je envelop is klaar voor de post.
Close with two-sided tape and your envelope is ready to mail.
 |
oeps, verkeerd om dichtgeplakt, de kleine flapje binnenin staat mooier :)
oops minor error, the small sides taped beneath the large 'flap' give a nicer look :) |
Als iets niet duidelijk is hoor ik het graag :D
Veel plezier!
When something is not clear I would love to hear it :D
Enjoy!!
˚˚˚˚˚
aanvulling: Ik heb een mal getekend, dan is het zeker duidelijk :)
edit: I've drawn a template to make sure all is clear :)

p.s. ART Specially wedstrijd:
klik



 'Creative minds are rarely tidy'

